
Step-by-Step Process of Creating a Prototype Plastic Mold: A Comprehensive Guide
Release date:
2026-06-23 18:10
Author:
Step-by-Step Process of Creating a Prototype Plastic Mold Table of Contents Introduction to Prototype Plastic Molds 1. The Design Phase: Laying the Groundwork 2. Material Selection: Choosing the Right Components 3. The Machining Process: Shaping the Mold 4. Finishing Touches: Polishing and Surface Treatment 5. Testing the Mold: Ensuring Quality and Precision 6. Int
Step-by-Step Process of Creating a Prototype Plastic Mold
Table of Contents
- Introduction to Prototype Plastic Molds
- 1. The Design Phase: Laying the Groundwork
- 2. Material Selection: Choosing the Right Components
- 3. The Machining Process: Shaping the Mold
- 4. Finishing Touches: Polishing and Surface Treatment
- 5. Testing the Mold: Ensuring Quality and Precision
- 6. Integrating with Production: From Prototype to Mass Production
- 7. Common Challenges in Prototype Mold Creation
- Conclusion
- FAQs
Introduction to Prototype Plastic Molds
Creating a prototype plastic mold is a meticulous process that is crucial in the manufacturing industry, particularly for producing plastic components. This process not only allows designers to visualize their ideas but also plays a significant role in determining the feasibility of a product. With the rise of rapid prototyping and advanced manufacturing techniques, understanding the step-by-step process of creating a prototype plastic mold becomes essential for engineers and product designers.
1. The Design Phase: Laying the Groundwork
The design phase is the cornerstone of any successful mold production. This stage involves transforming concepts into detailed designs. Here, we focus on several critical aspects:
Understanding Design Requirements
Before diving into the technicalities, it is essential to grasp the product's specifications. This includes dimensions, tolerances, and functional requirements. Collaboration between designers and engineers ensures that all perspectives are considered.
3D CAD Modeling
Using software like SolidWorks or AutoCAD, designers create a 3D model of the part to be molded. This digital representation allows for precise measurements and adjustments, making it easier to visualize the final product.
Mold Design Considerations
Mold designers must account for various factors such as draft angles, wall thickness, and undercuts. These elements facilitate the mold's functionality and ease of part removal.
2. Material Selection: Choosing the Right Components
Selecting the appropriate materials for both the mold and the plastic is crucial for durability and performance.
Mold Materials
Common materials for molds include steel and aluminum, each offering unique advantages. Steel molds are more durable and suitable for high-volume production, while aluminum molds are more cost-effective for low-volume runs.
Plastic Material Types
The choice of plastic also impacts the final product's characteristics. Options like ABS, polycarbonate, and nylon each have specific properties, including strength, flexibility, and temperature resistance, that should align with the intended use of the product.
3. The Machining Process: Shaping the Mold
Once the design is finalized and materials are selected, the machining process can commence.
CNC Machining
CNC (Computer Numerical Control) machines are often used to achieve high precision in mold making. This automated process allows for intricate shapes and features to be machined with minimal human intervention.
EDM Techniques
Electrical Discharge Machining (EDM) is utilized for creating complex geometries and fine details. This technique is particularly useful for achieving undercuts and intricate features that are difficult to machine using conventional methods.
4. Finishing Touches: Polishing and Surface Treatment
After the machining process, the mold requires finishing touches to ensure surface quality.
Polishing the Mold
Polishing is essential for reducing surface roughness, which can affect the final product's appearance and functionality. Different polishing techniques, such as mechanical polishing and chemical polishing, may be employed.
Surface Treatments
Surface treatments, such as coatings, can enhance the mold's lifespan and performance. Treatments like nitriding or chrome plating can increase wear resistance and reduce friction during the molding process.
5. Testing the Mold: Ensuring Quality and Precision
Before moving on to production, it is vital to conduct thorough testing on the prototype mold.
Trial Runs
Trial runs involve injecting plastic into the mold to create test parts. This stage helps identify any issues with mold design or performance.
Quality Control Checks
Conducting quality control checks ensures that the produced parts meet the specified dimensions and tolerances. Any discrepancies must be addressed before full-scale production begins.
6. Integrating with Production: From Prototype to Mass Production
Once the prototype mold passes testing, it’s time to integrate it into the production process.
Preparing for Mass Production
Adjustments may be necessary to optimize the mold for high-volume production. This includes evaluating cycle times and identifying potential bottlenecks.
Documentation and Training
Comprehensive documentation outlining the mold's operation is essential. Additionally, training production staff ensures a smooth transition from prototype to mass production.
7. Common Challenges in Prototype Mold Creation
Despite advanced technologies, challenges may arise during the mold-making process.
Design Complexity
Complex designs can lead to increased manufacturing times and costs. Simplifying design features without compromising functionality is often necessary.
Material Limitations
Material properties can vary widely, and matching the right material to the intended application is critical. Misalignment may result in product failures.
Conclusion
Creating a prototype plastic mold is a detailed and multifaceted process that requires careful planning and execution. From the initial design phase to the integration of the mold into mass production, each step is crucial in ensuring the final product meets quality standards and functional requirements. By understanding this comprehensive process, engineers and designers can navigate the complexities of mold-making more effectively and contribute to the development of high-quality plastic products.
FAQs
1. What is the typical lead time for creating a prototype plastic mold?
The lead time can vary significantly based on the complexity of the design and the manufacturing process. Generally, it can range from a few weeks to several months.
2. How do I choose the right material for my plastic mold?
Consider factors like the intended application, required durability, and production volume. Consulting with a materials expert can also help in making the right choice.
3. Can I make adjustments to the mold after production has started?
Yes, adjustments can often be made, but they may require additional time and cost. It’s best to finalize the design during the initial phases to minimize changes later.
4. What are the costs associated with creating a prototype plastic mold?
Costs can vary widely based on material selection, design complexity, and production methods. A detailed quote from a mold manufacturer can provide clarity.
5. Is it possible to use 3D printing for creating molds?
Yes, 3D printing can be used for rapid prototyping of molds, particularly for low-volume production runs, allowing for quicker iterations and adjustments.
prototype plastic mold
26
2022
-
08
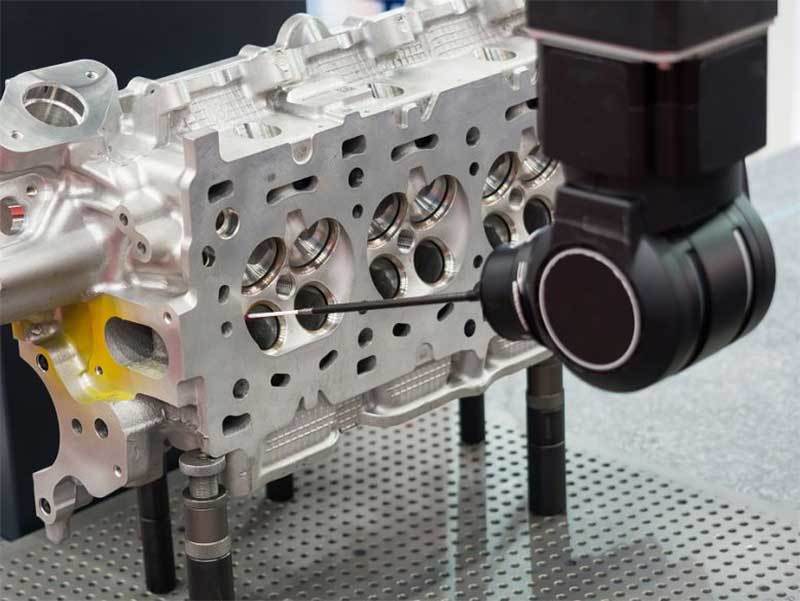
How to make a thermoplastic compression mold?
Thermoplastic is a type of resin that exists as a solid at room temperature but becomes plastic and pliable when heated—this occurs either through the melting of its crystalline structure or by flowing above its glass transition temperature.
09
2026
-
07

Common Mistakes to Avoid When Designing Prototype Plastic Molds
Common Mistakes to Avoid When Designing Prototype Plastic Molds Table of Contents Introduction to Plastic Mold Design Mistake 1: Ignoring Material Selection Mistake 2: Underestimating Cooling Time Mistake 3: Inadequate Draft Angles Mistake 4: Lack of Design for Manufacturability (DFM) Mistake 5: Neglecting Tolerances and Fit Mistake 6: Overlooking Mold Flow Analysis Mistake 7: Fai
08
2026
-
07
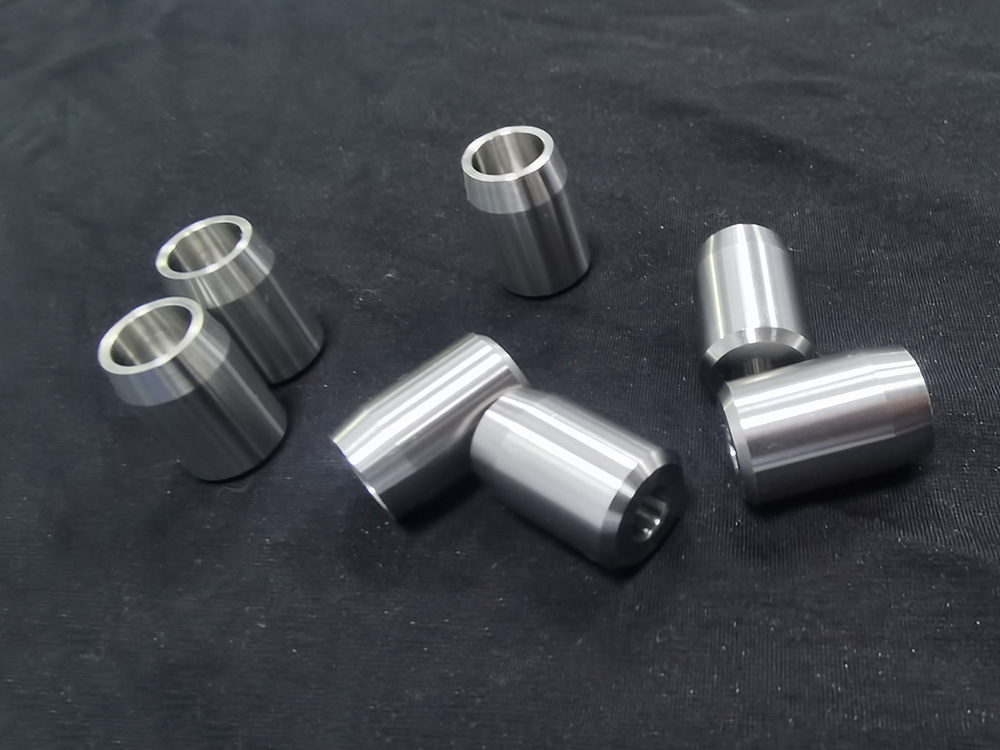
china Lathe parts machining manufacturers
Lathe Parts Machining is a manufacturing process that uses lathes to precisely machine metals, plastics, and composite materials. It primarily combines workpiece rotation with tool feed to achieve operations such as machining external diameters, internal holes, end faces, threads, grooves, and complex contours. As one of the most widely used machining methods in the machinery manufacturing industry, lathe parts machining is widely applied in automotive parts, industrial equipment, aerospace, electronics, hydraulic systems, and automation equipment due to its high machining efficiency, high dimensional accuracy, and excellent mass production capabilities.


Page keywords:
Ted Xing specializes in machining centers, automotive cooling molds, precision components for semiconductor equipment, and high-precision parts for medical devices. We also offer precision mechanical components, automation equipment parts, as well as advanced die-casting molds and plastic mold design and manufacturing. Additionally, we provide CNC product machining and lathe processing services, including three-axis, four-axis, and five-axis precision machining on machining centers. Our expertise extends to Japanese Makino slow-wire EDM and precision electro-discharge machining.
Contact Information
Address: No. 2 Xishan Road, Biquan Subdistrict, Bishan District, Chongqing City